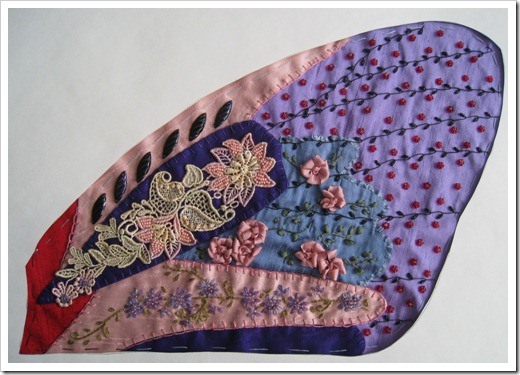
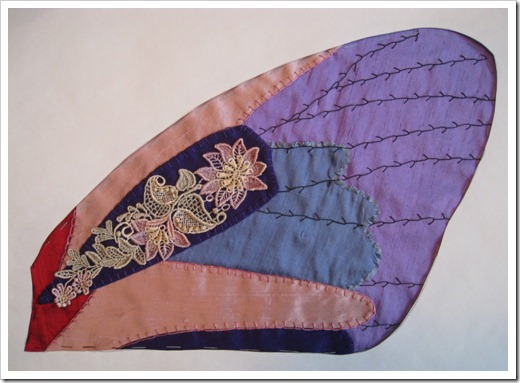
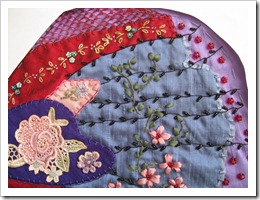
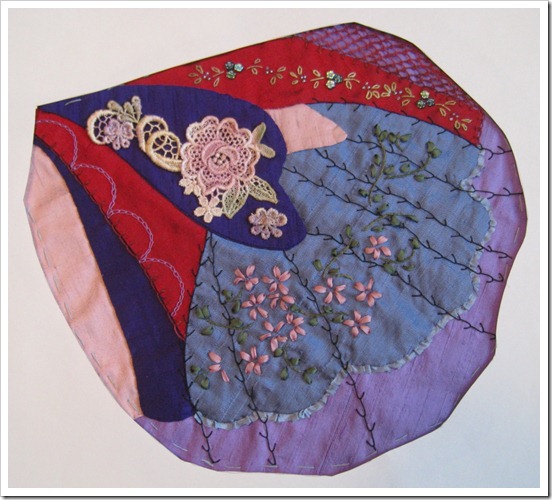
Here is the beaded upper right wing. I won't be posting the left wing and you'll see the butterfly again later on down the road. So that I have something to post I'll work on the background some and finish the left wing on the side. I still haven't decided what to do about the body. Any ideas will be considered!
Butterfly Wall Hanging
Here is the upper right wing for my Butterfly Wall Hanging. I will use the colors, beads, etc. that I used in the lower part so it should move along a little quicker.
Butterfly Wall Hanging
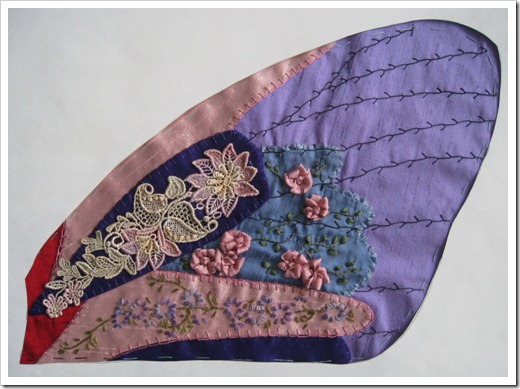
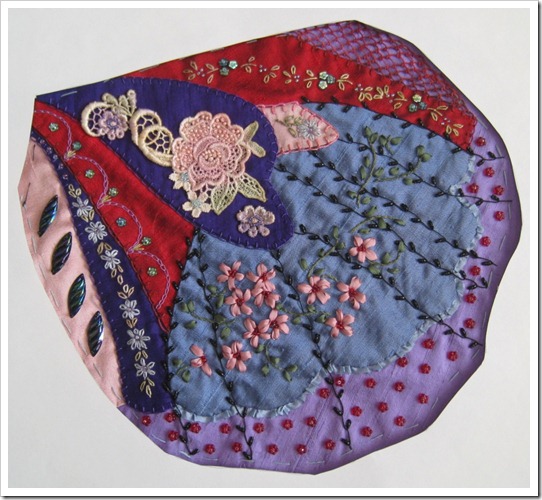
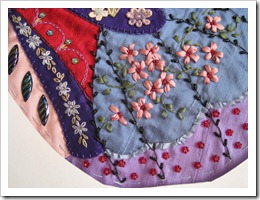
Today I finished the lower right wing. I added another layer of silk ribbon to each of the petals of the flowers. They look so much better now. A few other simple embroideries and lots of beads have brought me to the point of "enough is enough!" Repeating this on the lower left shouldn't take as long as no thinking will be involved.
Butterfly Wall Hanging
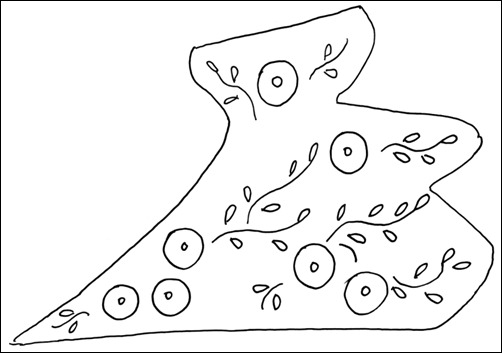
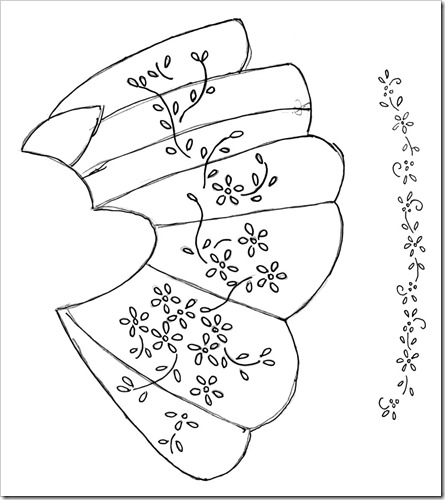
This half of the lower right wing is not quite finished but I'll show you my progress. Here are two designs I drew to fit into special areas on the wing. As you can see, I use simple lazy daisy designs to place flowers and then use silk ribbon, beads etc. just using the design to guide me. I may add to the silk ribbon flowers as they look a little weak to me. Still thinking!! I love lace so almost always include it in my projects - not to mention, it fills space without too much work!
Butterfly Wall Hanging - Embellishment Started
After spending hours trying to decide how I want to embellish the wings on my butterfly, I've decided to show you the simple route I've chosen to take. Remember, stitches will be done in mirror image with only minor differences.
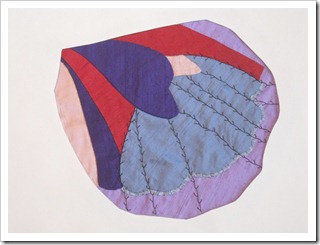
For the first step, I gathered a length of 1/8" (4mm) silk ribbon as I tacked it down to the edge of the scalloped area of the wing. I then used size 12 pearl cotton to divide the different segments with a single line of feather stitch. I'll revisit this area with beads later. Since my background will be black, I'll introduce black embellishments whenever possible so the butterfly will look like an integral part of the wall hanging and not just sitting on top. On to playing with flowers - it has to have flowers!!
An Experiment Started - Butterflies are Free
This is my first post in quite a while. I made my first trip ever out of the USA and visited England with my daughter for 8 super days. Not a thought of stitching went through my mind while I was there as I enjoyed the history and the scenery more than I can say. The Cotswolds will always be calling me from here on out.
Well, I've been home for 10 days now and am finally in the mood to start a new project. I've put away my 2012 quilt and another smaller piece I've been working on for a few years. Who knows if I'll actually get anything finished by 2012. Life is short and I don't want to tie myself down to a date. If it's done, great! If not, the Earth won't stop turning.
As the title says, this is an experiment. I am going to try to piece a butterfly much in the same way I did my pansy wall hanging so long ago. The butterfly won't stand alone, however, the way the pansy does. I'm going to appliqué it, after embellishment, to a solid black background and use the techniques I used for my whole cloth crazy quilt on the black. I've found that black is my all time favorite base for CQ embellishment. I work it up faster as I so enjoy the way the colors pop when I look at the embroidery stitches.
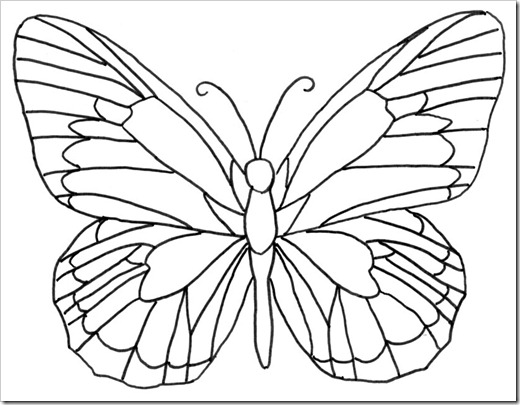
This butterfly is 27" wide by 20 1/2" high and is being pieced in bright colors. I decided to make it more in fantasy colors rather than try to make it look like a specific type which would probably end up wrong anyway. The fabrics are silk shantung and dupioni. I am using a lot of freezer paper and either ironing edges over and appliquéing or lining some pieces and turning in order to cut down on the silk fraying. 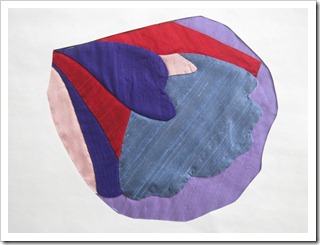
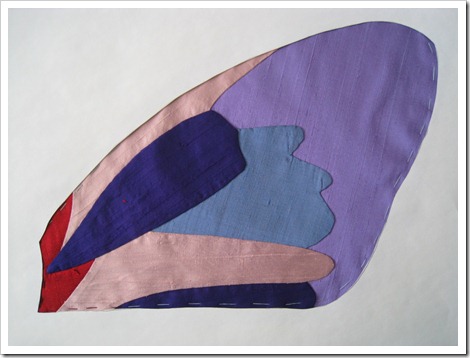
Here is the first part of one wing. It took me several tries to figure out how I wanted to do it. This one isn't perfect and I cut down on segments to make it easier to piece. I'll divide it up again as I go with my embellishments. The whole thing may end up being redone again or, maybe I'll just cover the mistakes I see with stitching.
I am giving you the drawing I made as well if you'd like to try it yourself. I still get requests for my pansy pattern, but I threw it away when the pansy was finished and only have my original drawing in a 2" square. Too tiny to piece!! I plan to stitch the butterfly one wing at a time and do mirror embellishment. How I'm going to assemble the butterfly is still not decided. I just do it by steps and redo if I need to as I go along.
